Showing posts with label Treat Holders. Show all posts

Saturday, September 23, 2017

Free Halloween Printable!


Fall is officially here. Except in Oklahoma.... where it was 90 degrees today!  What the what?

I guess it's still "officially" fall but I could really go for cool weather.  I hate heat.

Anywho, with the arrival of fall, we know Halloween is just around the corner.  Not having kids, I don't have to make costumes or deal with trick-or-treating, but I still love making goodies for my co-workers and friends.

Since I got my fuse tool, I have been OBSESSED with all things shaker.  Shaker cards, shaker bookmarks, shaker dashboards for my planner....  So why not do a shaker Halloween treat bag?

If you're not familiar with a fuse tool, check this out:

Now that you are in love with the fuse tool like I am, what can you do with it?  I have a simple idea that will be a hit with all your pals.  Promise!

All you need is a printer, some paper and some 5x7 cello bags. (I got mine from Amazon HERE)


I guess you could call these "treat packs"?  I have no idea. I just think they're cute.  I basically took a printable card, put it in a 5x7 cello bag, added embellishments and/or candy and sealed the end with my fuse tool.


With my limited photography skills, it's very difficult to photograph a shiny, flimsy bag.  I kept getting a glare, so I just laid it down and hoped for the best.  If you want to give a treat without candy, you can add some sequins or die-cuts and just write a little note on the back.


In this one, I added a couple packs of Sixlets.  My hubby loves them.  I find the crunchy shell nasty, personally.


If you don't have a fuse tool, but still want to make these, you can easily fold them over and seal the back with some cute (and glittery!) washi tape.

Now for the best part - a Freebie!  I created these cards to share with you all.  Just click the link under the picture to download the PDF document for yourself.


If you make some, I'd love to see pics.  Post them on the Pink and Paper Facebook page and we can all share fun ideas!

Happy Creating!

Wednesday, October 28, 2015

Halloween Cheezy Poofs!


Halloween is just around the corner.  Are you ready?

Every holiday, I have great intentions.  I decide I’m going to make these fabulous treat bags or boxes full of fabulous goodies for my family, friends and co-workers.  Most holidays, I’m good to just show up with whatever I agree to bring, much less something cutesy and fun.  I have a tendency to bite off more than I can chew and then I run out of time for the fun things… like making treat bags!

This year, however, I have turned over a new leaf.  I am trying to stop doing things out of obligation and do more of what I want, in my downtime. 

So, guess what?  I made Halloween bags for my co-workers!  I totally stole the idea from Pinterest, so I can’t take credit for the creative genius, but I did them my own way. 

I started with a GIANT tub of cheezy poofs.  (Yes, I realize they are actually called cheese puffs, but thanks to my husband and his younger days of watching Southpark, they will forever be known as “cheezy poofs” in our household!)


That sucker is massive, huh?  You can see my Silhouette machine to the right, just for scale.  I got this whole tub at Sam’s for about $6.00.  What a bargain!

I bought some treat bags and measured them to see how much space I had for the faces.  On Pinterest, everyone had drawn the faces using Sharpie markers.  What?!?!?  They obviously don’t own a Silhouette.

I went to Google and searched “jack o lantern faces clip art” and got tons of cute little faces.  I imported a few of them into design studio, then traced them.  Voila!  I cut the faces from some scraps of black vinyl I had in my stash and applied to the bags. 


After all the faces were applied, I filled them with cheesy goodness and tied with twine.  Sooooo cute!


I love these little guys!  


If you haven’t yet made Halloween goodies, this is an easy and quick project you could do tonight.  Of course, if you try it, I’d love to see your pictures.


Happy Wednesday!
Cheryl

Saturday, November 10, 2012

Cricut Artiste is the bomb!


I got a new cartridge!!!

I am super excited, if you can't tell from the song I was singing above! I got the Cricut Artiste cartridge!  I have stepped over the cliff and fallen in love.  It is fabulous!  As I mentioned in a previous post, I was hesitant only because I am on a budget and it's a bit pricey but I must say, it's worth it.  Of course, as soon as I received it, I had to try it out.  I made these fun pumpkin favors for our November ladies meeting at church.  The picture above is the table decor with a couple of the treat bags.


I used the 3D object on page 32 of the Artiste handbook to make the favors.


They were so quick and simple.  I cut them at 4.00".  I hand cut the stems from some wood grain paper I had in my stash.


The leaves are from Create A Critter and cut at .50".  I embossed the pumpkins using various folders in my Cuttlebug.  The paper is Colorbok.

I put a cute little mint in each pumpkin bag.  This cut is so simple and versatile.  I am sure I will make more very soon!  I would highly recommend this cartridge to everyone.  I can't wait to make more goodies with it!

Blessings,
Cheryl


Wednesday, October 31, 2012

Happy Halloween!


Happy Halloween!

I hope you are all doing well on this nice fall holiday!  I thought I would share one last Halloween project with you.  I had planned on posting these on Sunday, but my weekend didn't go as planned.  

As I've mentioned before, our church volunteers to run a concession stand for the OU Football games every year.  We work for free and then our church gets 9% of whatever the stand makes that day.  We had a game this past Saturday and it was a doozie (is that how you spell it?)!  We arrived at 3:00 pm and worked until a little after 10:00 pm.     Then, we had to walk like 100 miles back to our car.  I realized I'm exaggerating a little here, but after standing on your feet, on concrete for that long, a 1 mile walk feels like 100!  Plus it was really cold and I had a blister on my foot.  We arrived at the van around 10:40 pm and proceeded to sit in traffic for approximately 2 hours trying to get home.  We got on the highway and while driving in horrible traffic, our church van was hit from behind by a young lady in a brand spanking new Jeep Cherokee.  She was too busy playing with her radio and GPS to concentrate on driving.  Priorities, right?  She hit us pretty hard and it hurt! Thankfully, no one was seriously injured and finally an hour later we got back on the road and headed home. 

I'd planned on making these goodies on Sunday but my back and neck started screaming louder as time went on.  When I'd sit at my desk and look down to work, it hurt. So I didn't!  I got an appointment with the chiropractor and I feel a little better now and I know I'll get better by the day.  I finally finished them last night, just in time to bring to work to today to my co-workers.  Here are close up shots of some of them...


The picture quality is bad because I just threw them on my desk and took some quick pics before packing them up last night.  


I cut the boxes from Tags, Bags, Boxes and More 2 at 5".  I tied them up with twine and ribbon and added a stamped sentiment to each.  Some of them have stickers and some have cuts done with the Cricut from Simply Charmed.


I filled each one with a Werthers Creamy Caramel, Werthers Caramel Apple and some Peanut Butter Bars.  Have you ever had these?


Oh. My. Goodness.  They are yummy!  I could chomp on them all day.  Which is exactly why I bought a small package so I only had 2 leftover to tempt me!

That's all for today folks!  Be safe if you go out trick or treating tonight and ENJOY!  My Halloween plans include a trip to the chiropractor, coupon shopping, church and then going home to enjoy one of our holiday traditions...

It airs tonight on ABC, so if you're home, you should watch it!  I love celebrating the holidays with Charlie Brown!

Blessings,
Cheryl


Saturday, October 13, 2012

Batty!


We're getting closer to Halloween, so I wanted to share another fun project with you.  I haven't bought any Halloween paper this year, so I'm still using up my stash from last year...


This box is from TBBM 2.  I really like this cut.  I think since it's a "french fry" box, it would be fun to make some, line them with wax paper and serve some kind of food out of them (not candy).  I may just have to do that someday...


To match the goofy bat paper, I cut this little fellow from Simply Charmed twice and layered him to make his wings stand out.  I hand cut the fangs and used punches for the eyes to match the paper.  The sentiment is from another piece of paper from that same stack that I cut out.

Recipe:
Box - Tags, Bags, Boxes and More 2 - french fry box from pg 69, cut at 6"
Bat - Simply Charmed - Bat (layer 1 and layer 2) from pg 59, cut at 1.50"
Paper - K & Company

I've noticed a lot of folks in blog land have really gotten a head start on their Christmas cards.  Have you?  I think I might get started as well...

Blessings,
Cheryl


Monday, October 8, 2012

Brrrrr!!


We finally got cold weather in Oklahoma!!  We finally got cold weather in Oklahoma!!  We finally got cold weather in Oklahoma!!

Can you tell I'm happy about that?  It got pretty cold here over the weekend and it actually feels like October.  I could not be happier.  I hate to be hot almost as much as I hate crickets so I like fall and I love winter.  The weather inspired me to create some more Halloween goodies.


This box is from TBBM 2.  I have been wanting to make one of these for a while now.  I used the fit to page option and it's pretty big!  In the first picture, the background is a 12 x 12 piece of paper and you can see how big the box is in comparison.


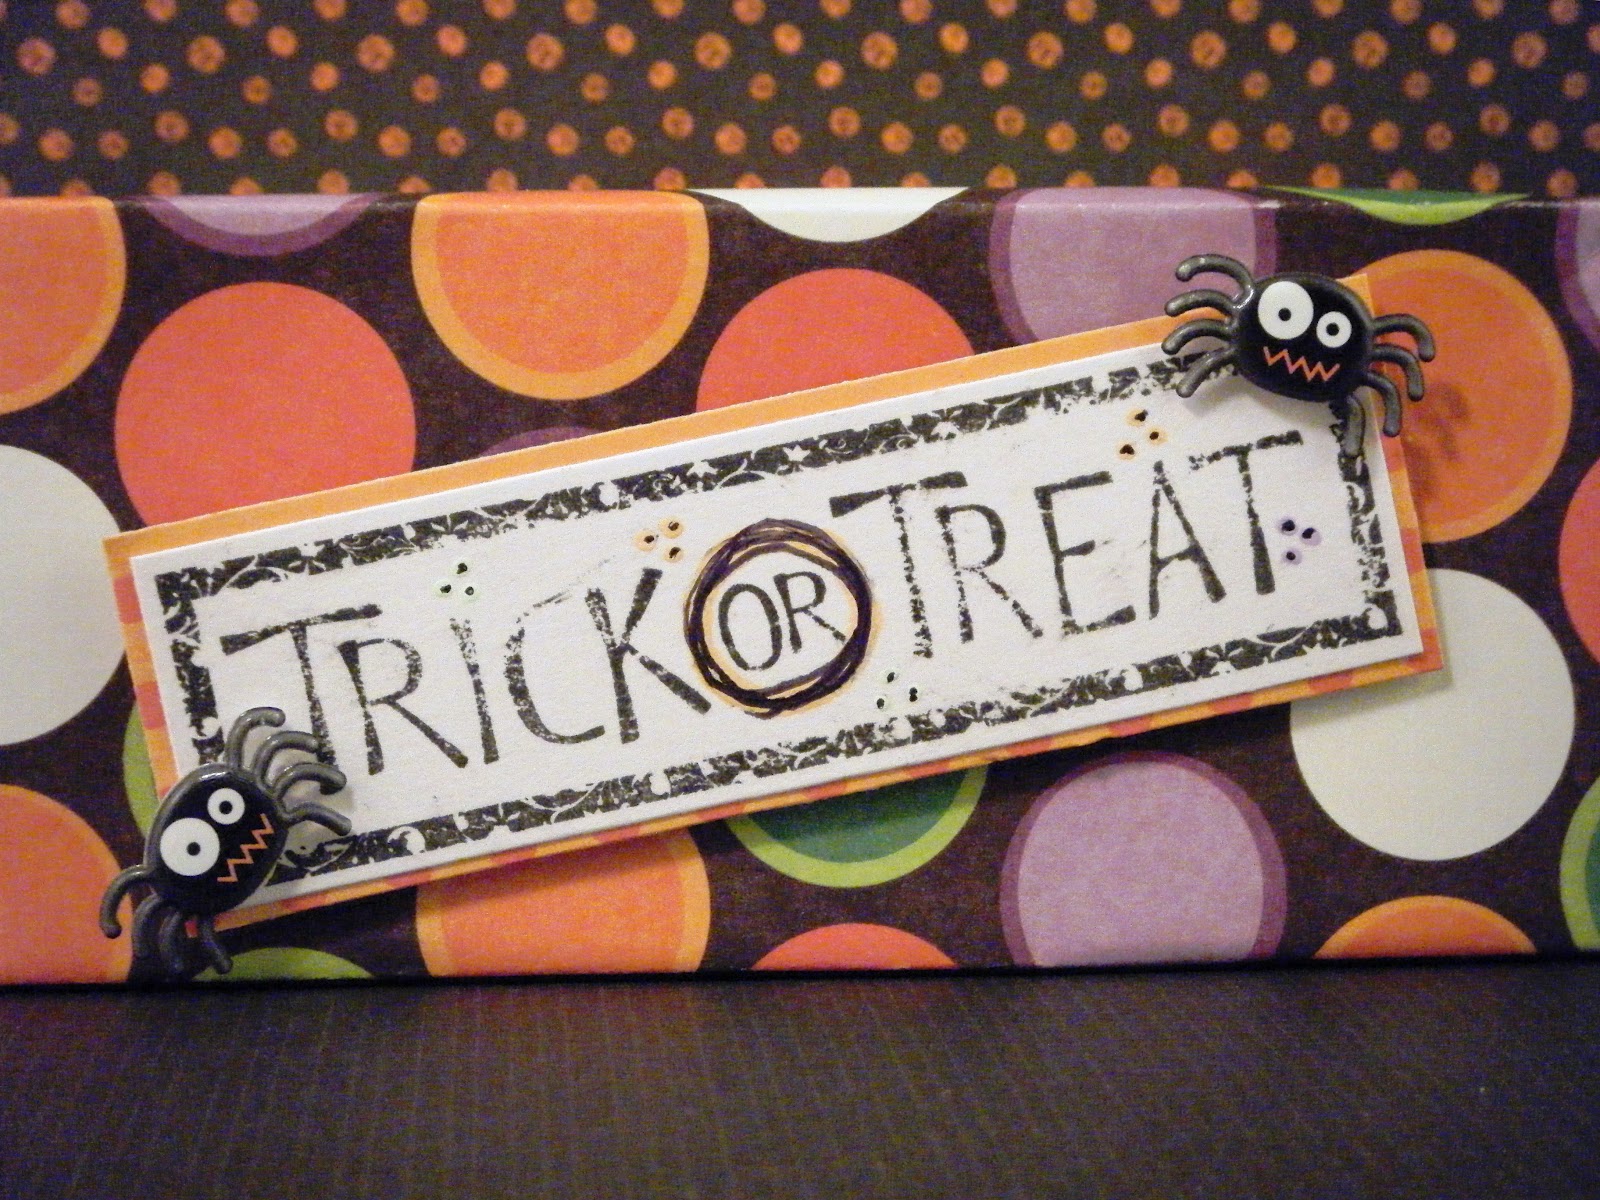
I used a stamp from Hobby Lobby.  It's supposed to look aged and creepy, I guess.  To me, it just looks like the stamp didn't work too well!  I used my Sakura Glaze pens in purple and orange to highlight the dots, etc.


This little tiny spiders are so cute!  They are by SandyLion and I bought them a few years ago in the dollar spot at Michael's.  I have saved them waiting for just the right project.  I tied the ends of the box using twine from my store.

Recipe:
Box - Tags, Bags, Boxes and More 2 - cracker box on pg 61
Paper - K & Company
Twine - Pink and Paper
Stamp - Stampendous
Pens - Glaze by Sakura
Stickers - SandyLion

I'm so glad you stopped by today.  Have a great Monday!

Blessings,
Cheryl


Monday, August 20, 2012

Back to school... A little late!

I really love back to school time.  I have no children and although my hubby is in school, he doesn't need normal supplies for his classes, but...  I love to shop for school supplies anyway!  Office supplies make me happy.  All the beautiful colors of pens, highlighters, notepads.... they're just lovely.  The last few years I've gone crazy and bought tons of spiral notebooks, binders, highlighters, pens and tape when they go on sale 10/$1.00.  While that may be a good deal, how much of this stuff can one person use?  So, this year, I restrained myself and only bought one package of pens and they were really pretty and totally worth it!


Friday, May 11, 2012

She's Back!!!

Finally, I am back in the land of blogging and crafting! I have really missed you guys and I think I might have actually heard my Cricut & Gypsy sobbing last night from feeling so neglected. It saddened my heart.

The last few weeks have held some stress and busy times for me. Besides the family situation we had, I had orders for almost 200 teacher appreciation items, had a garage sale (Yea for me...made over $400 on my junk!), made 30 paper teacups for our women's tea last night (with help from my good pal, Cassie), had to make what seemed like a gazillion birthday cards for May and a bunch of other little stuff that took up way too much time.

I am officially taking a breath for the first time in 2 weeks.

WOW! That felt good.

Ok, so now for the real reason you're here... My good friend Trudy is the president of PTA at her kid's school. She was kind enough to hire me to make goodies for their teacher appreciation week festivities. Although it's hard work, I really do enjoy it and I certainly enjoy the money!

This is one of the 3 items I made. This hanging treat box was designed on my Gypsy and was actually easier to design than I'd anticipated. I am planning to make several styles and offer them for download in my store in a few weeks, if any of you would like to try them as well.  There were several blogs I saw where they hand cut them all, but if I can use my Gypsy, that's what I do.  It's such a time saver for me. 

The patterned paper is from The Paper Studio and I purchased it at Hobby Lobby. For the crayon, apple and pencil, I used the Gypsy and the cartridges are listed below. The sentiment was printed on my computer, then punched out with a 1.5" punch. I used a 2" scalloped circle punch to cut the bigger circle.

Pencil - Smiley Cards
Apple - Doodlecharms
Crayon - Simply Charmed

I glued everything to the box and then adhered the pencils/apples/crayons with a foam dot. 

Each container held a single serve packet of drink mix (I used Hawaiian Punch Lemon Berry and Strawberry Lime - YUMMMMM) and a pack of either cheese or peanut butter crackers. From what Trudy said, they were hit and that makes my heart happy!

I'll be back soon with the rest of my projects for the school and then will post my Mother's Day projects after I deliver them.

Have a blessed and wonderful Friday!
Cheryl

Friday, October 28, 2011

Trick or Treat...Smell My Feet!


I promise I'm almost done with the cheesy Halloween phrases.  They just abound this time of year, don't they?  I hope you all got to watch The Great Pumpkin last night because it's a necessary part of the season.  =)  I have another treat bag to share to wrap up my week of Halloween fun....

Tuesday, February 15, 2011

Happy {Belated} Valentine’s Day!!

I hope you all had a wonderful Valentine’s Day!  I apologize for the delayed post; I was swamped yesterday and forgot to get this posted.  Every year we host a large dinner at our church that I help plan and it was yesterday.  It went really well, but it’s a long day of cooking and decorating and hard work. 

Now…onto the paper crafts!  I made valentines for the kids on my class at church and thought I’d share.  I made boxes based on the tutorial here.  These are super easy and super cute.  It was a ton of work, but my kids really like them, so it was well worth it!  I have tons of pictures, so here we go….

DSCF7303

DSCF7282DSCF7287DSCF7290DSCF7293DSCF7299

DSCF7174DSCF7175DSCF7183DSCF7207DSCF7213DSCF7219DSCF7228DSCF7239DSCF7241DSCF7257DSCF7265DSCF7267DSCF7277

signature plain