Showing posts with label Cards. Show all posts

Friday, October 30, 2015

Cute & Simple Halloween Cards


Earlier in the week I posted some cute little Halloween treat bags for my co-workers.  Of course, I had to make cards to go along with them!

I made 6 different cards, mixing and matching the colors using up my scraps from last Halloween.  They were easy and fast to make.


Each card measures around 3" x 3".  I took a simple pennant shape and imported it into Silhouette Design Studio.  I flipped one over and welded them together to make cards.  For ease of folding, I added a score line in the middle of each card so it cut that for me.


I then used the internal offset function to make some layers to cut my patterend paper.  


The font I used is apparently unavailable now, but it's very similar to Galpon from DaFont.  You can get it HERE.  For the font, I used the offset feature to make an outline, then welded the letters together.


I love Halloween colors!  I had a blast making these fun little cards.  It's been a long time since I've sat at my craft desk and played.  It was wonderful.  And I must do it again very soon!

Happy Halloween!
Cheryl


Monday, September 28, 2015

Batman Card

My co-worker ordered a card from me for her sister's 18th birthday.  Apparently, she's a huge Batman fan, so she found an idea on Pinterest asked me to recreate it.  She wanted me to merge two cards. Here's the inspiration...

via Pinterest

via Pinterest

And here's what I came up with...

I created this on my Silhouette.  (Sorry for the bad lighting...I finished late at night!)  I also was lazy and didn't set up my photo tent so please ignore my messy desk!  My co-worker told me what she wanted it to say, but I designed the rest.
 
 
To create the cityscape, I found an image on Google and traced it in my Silhouette.  I added the windows, made a compound path and cut it in black.  Then, I removed the windows and cut a yellow layer to put behind it.  For the words, I designed them in Silhouette as well and used the print and cut feature.  The font is KG Beneath Your Beautiful.


The Bat Signal is attached with an Action Wobble.  You can purchase these on Amazon HERE.


I love Action Wobbles!  I think they make whimsical cards so much better.  Here's a side view.


And get ready for it....


The Action Wobble in action!


One more.  I was quite impressed with my speedy photography skills to catch this.  Wow.  Love these little springs!


Here's the inside of the card.  Again, I found the image online and traced it in Silhouette Studio.


She texted me after I'd already made the card and asked for a gift card holder to be added.  Nothing fancy, but I put this inside.

If you ever need a card for a super hero in your life, go ahead - use this layout!  It's easy and fun!

Hugs,
Cheryl

Saturday, April 18, 2015

Shaker Card Obsession

So, I know shaker cards have been around for a while.  But, for some reason I never cared about them until now.  I have become obsessed with shaker cards.  I am not sure why but I just love them all of a sudden!  I bought a bunch of micro beads on clearance at Michael's, so I'm ready to make a whole slew of 'em!


When I made this card, I hadn't yet accumulated all my beautiful micro beads, so I used my hole punch and punched a ton of holes to fill the "window".


I'm really happy with the way it turned out!  I cut "Thanks" using my Silhouette Cameo.  I used a fancy font, then welded the letters together.


For the window, I used acetate paper.  I found a really good deal on this through Amazon. It's by Grafix and you get 25 sheets for about 10 bucks with free shipping if you're a Prime member.  Love this stuff!  You can buy it here:


Have you ever made a shaker card?  If so, I'd love to see it!  Please share!

Cheryl

This post contains affiliate links.  Clicking the link and purchasing through Amazon helps support Pink and Paper.  Thanks for your support!

Thursday, April 9, 2015

Flowery Card


I saw a card on Pinterest a while back and I loved the style, so I decided to use that for inspiration.  Sadly, I didn't pin the card so I can't share the inspiration pic with you all.

Until a few weeks ago, I hadn't been crafty in a few months.  I decided I was ready to play with paper again and I'm working on building up my stash of cards.  I like to have cards on hand in case I forget a birthday and need a card right away... or just want to drop a note to a friend.

As you can tell from the pic, the front of the card is basically a half sheet.  I designed it on my Silhouette, cut it, then added the flowers.


I cut the flowers in a couple of different sizes and layered them with foam dots.  I added enamel dots to the center of each flower.  I made the enamel dots myself and I'll post about that soon so you do it too!


I'm really pleased with how this turned out.  It was fairly simple and I think I can easily make several different cards using this style as a template.

I'm off to make more cards....

Cheryl


Tuesday, March 17, 2015

Happy Birthday Padre!


Happy Birthday to my Padre!  

Ok, today isn't his birthday.  It was March 4th.  And, for the record, I don't speak Spanish...not even a little.  

I have a habit of giving people nicknames.  I am not sure when it really started or why.  My husband, whose name is Charles, has about 12 names I call him at various times.  (They're all nice - I promise!)  Several years ago, I started calling my dad padre and it stuck.  I don't call my mom madre, though.  I call her Daisy, yet her name is Barbara.  There's a story behind that, but we'll save that for another day.

Back to the card....

The first card I made with my Silhouette was a box card.  I downloaded the file from svgcuts.com.  I haven't used it since and that was over a year ago.  I really like these cards just because they're fun, so I decided to pull it out for him.


I used various scraps of paper for the card, so I honestly couldn't tell you who makes this paper.

Isn't it festive?


Look at the above picture.  Do you see anything that doesn't belong?  

Look very closely.

The navy balloon on the left is a bit of a mess.  When I was making the card, I wanted every balloon to be a different color, but I didn't have one single piece of patterned paper in navy.  So, I pulled out my trusty white gel pen and made my own.  In person, it blended in pretty well but it seems to really stand out in the picture.  


I used an old stamp I have by The Paper Studio.  I really like the swirly letters, but I'm a little sick of it.  I guess I might have to buy some new stamps.  Oh, darn!  I just hate shopping for crafty things.... said no one, ever!

Have you ever made a boxed card?  I'd love to see your pics if you have.

Blessings,
Cheryl


Saturday, September 13, 2014

Simple Card


I love making cards.  I know most of you that follow this blog do some type of paper crafting.  And wouldn't you agree that there's not much better in the world than sitting at your craft desk on a lazy Saturday afternoon just playing with paper and glue and glitter? It's loverly.


It's taking me a while to adjust from the world of Cricut to Silhouette.  I am so used to flipping through the Cricut books and looking at images on cartridges and finding images for the Silhouette is so different.  I LOVE the versatility and functions of this machine - and I will never go back - but I'm still gathering images and so making cards has proven to be a little more challenging when designing.  I made this from a free SVG I came across on Pinterest.


I stamped the sentiment, then went over the word "wish" with my Gelly Roll Stardust pen in clear.  It doesn't photograph well, but in person, it's just clear with sparkles and makes the words look groovy.  You can get the pens here:


Thanks for stopping by today!  Have a great weekend!

Cheryl

Saturday, July 26, 2014

Sunflower!


Have you hear of Miss Kate Cuttables? She is a fabulous gal who designs and offers a FREE SVG file every day!  You can visit her site HERE. I love her files.  They're super cute and easy to cut and layer.

I downloaded this cute little bee from there.  I have a friend who really likes Sunflowers and I saw a similar "split card" (don't know the official name...ha ha) made using a daisy.  I thought I would try one with a sunflower and the bee.


I created the base for the card in my Silhouette software.  It was really hard to photograph, but it's pretty cute in person.  The card measures around 5"x 5".


When I cut the little bee he was so tiny, I had to draw on the eyes and mouth.  I added everything to the front with several layers of foam to make it POP!  

On another subject, I am in the process of creating a planner/home management binder/budget book....etc.  Do any of you use that on a daily or weekly basis?  I purchased several items in the ARC line of products by Staples and am trying to design my own pages.  Once it's complete, I will share it all with you, but was wondering if you have any ideas or suggestions as I'm setting it up?  I hope to have sections for meal planning, budgeting, blog posts, calendar and notes/receipts. If you aren't familiar with the ARC system, here's a link to their products:


Have a blessed day,
Cheryl

Sunday, July 20, 2014

Hello Sunshine!


Hello, sunshine!

I made this card for a friend of mine who has been facing some hard times.  I wanted something sunny and happy and fun!


Here's a close up of the center of my sun.  I added a few gems because everything is better with bling.  I inked the edges of everything with black.  I was worried the black would be too harsh, but I didn't want to use brown and didn't have some gray ink.  I gotta get some of that...


I made a little cloud, cut it out and put my stamp on there.  This was a cheapo, dollar bin stamp and I like it.


Although this was super simple, I really enjoyed making it.  The paper is from The Basics stack by The Paper Studio.  I designed this in the Silhouette Studio software.  I thought I'd share the file in case you all were interested in it.  Here's the link:


Happy Crafting!!
Cheryl


Tuesday, July 8, 2014

Box Cards....again!

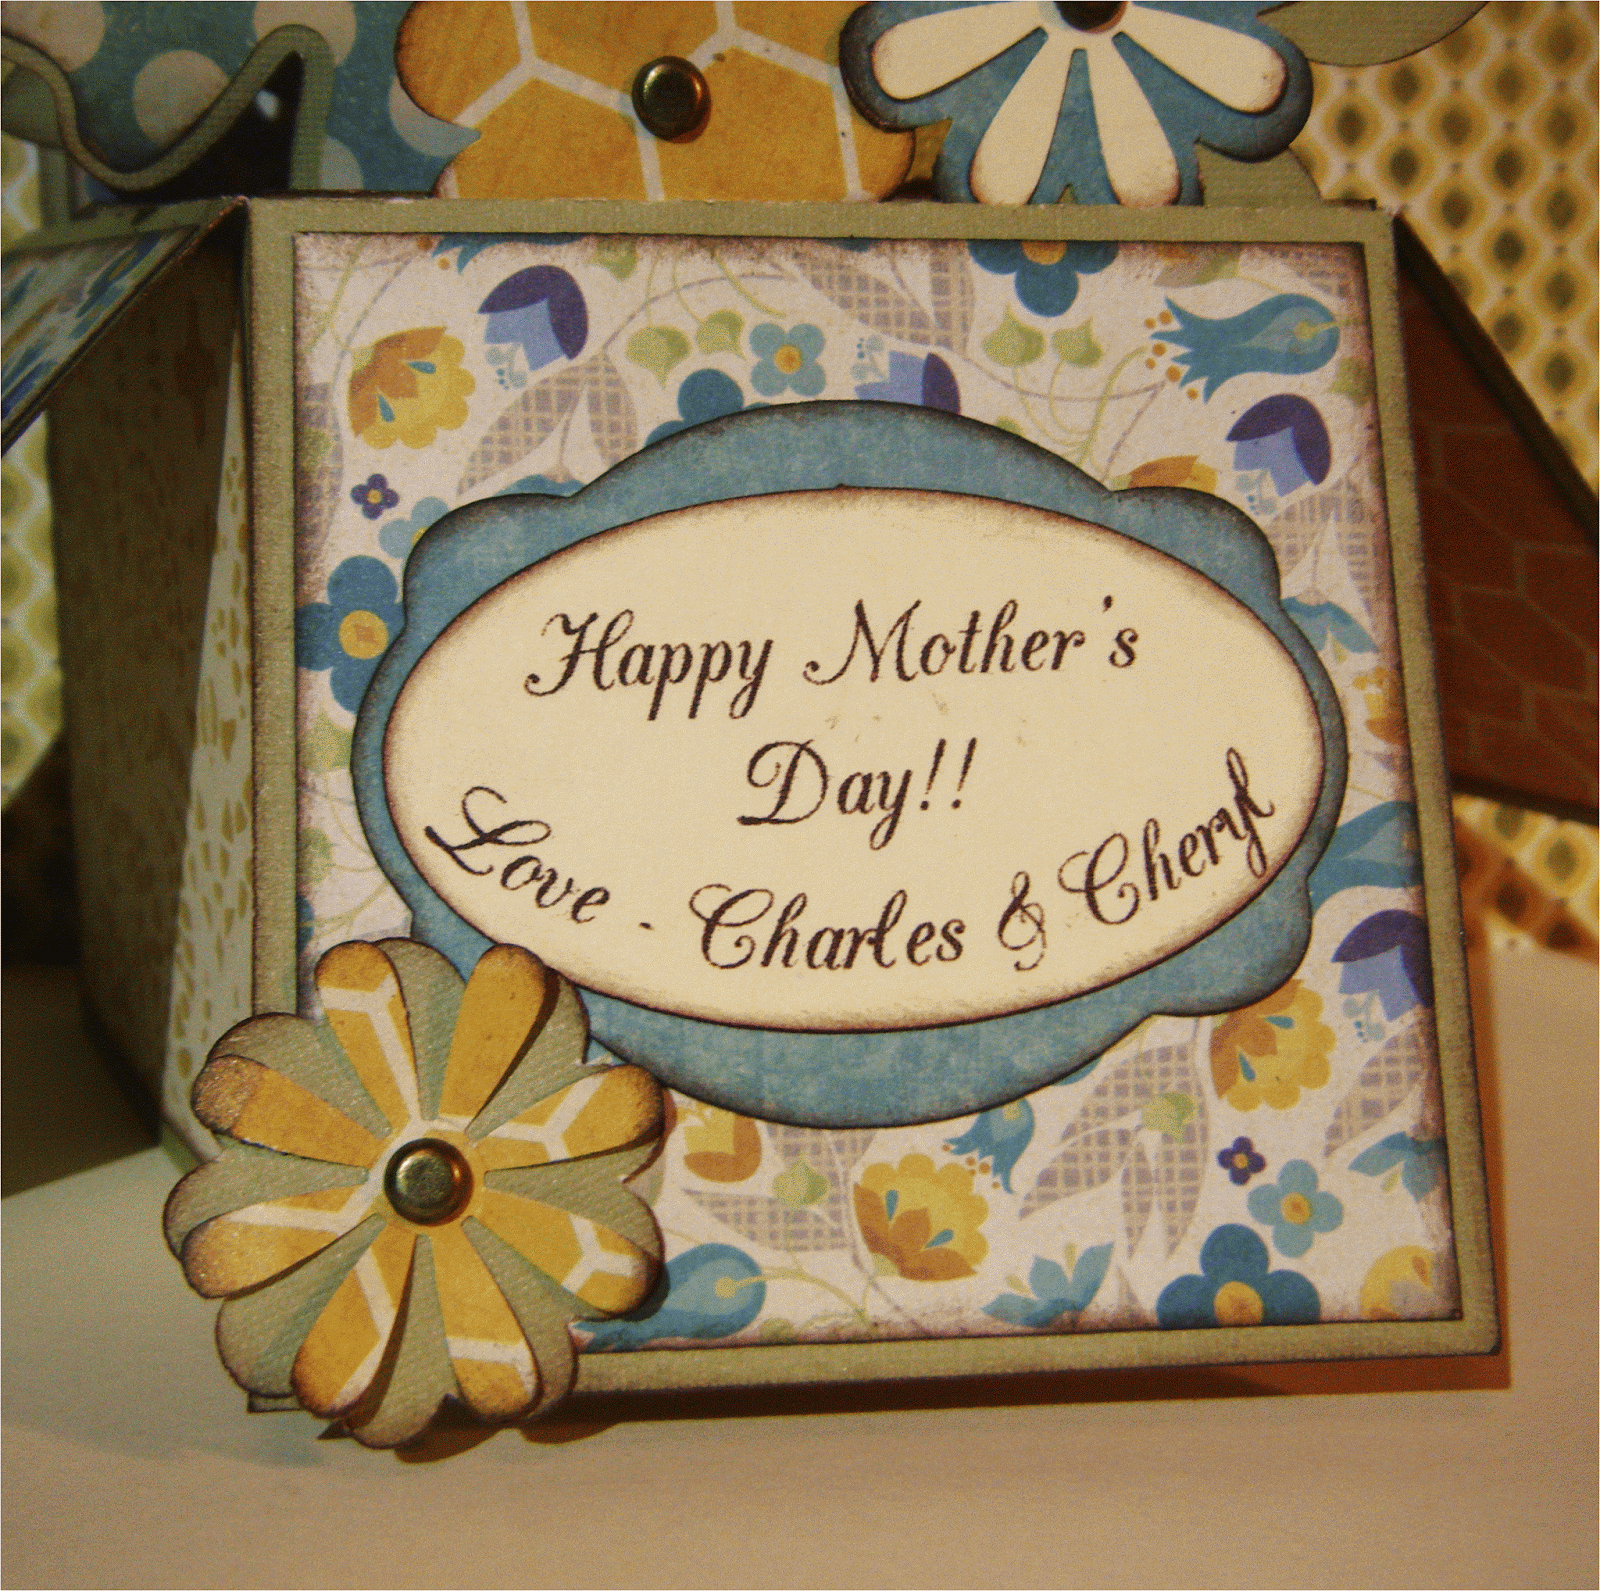
Last week, I shared a box card I made for Mother's Day and I wanted to share the other with you today.  

As most of you know, we moved a few months back.  When we moved, the lights I use for taking my photos got broken.  I must apologize for the pitiful pictures.  My hubby is helping me create a new light box and set up now, but it's not done yet.  Just ignore the bad pics, ok?  Pretend they look perfect and pretty and fancy!!

This is the same file I used on the other box card.  All the papers (on both cards) are by Recollections from Michaels.  These papers are some of my faves, but they're very thin so you have to really tweak your settings when cutting them.

 This is the second card I made and as you can see, my printing and cutting is a little better than before...

 Again, please ignore the horrible shadows.  What an awful pic!

And last, the outside of the box/card.  I love this yellow paper.  It's sunny and happy and fun!

Have a great day!
Cheryl

Monday, June 30, 2014

Box Cards!

For all you Silhouette users out there, have you tried anything from svgcuts.com yet?  I purchased my first set of files from them a few weeks ago and I really like them.  I made a couple of the box cards for Mother's Day and I'm finally gonna share one of them...

Aren't these box cards fun?  If you've never made one, they fold flat and will fit in an A2 sized envelope.  Now that I've seen how they're put together, I think I'm going to design a few of my own.  I have all kinds of ideas....


I used the print and cut feature on my Silhouette for the first time here.  you can see my printing wasn't perfectly lined up on my oval, but I think I figured out what I did and I've gotten better at it since then. 

 Here's a front view of the card sitting on my desk.

And here's what it looks like folded up!  I had a great time making this.  I would recommend you try one if you access to the file.

On another note, I have wanted to start designing SVG files for a long time.  I have finally finished my first one.  It's a flower and I'll have it posted in a day or two for you to download.  I have to make sure I have it all done correctly, then I'll be sharing with you guys.

Until next time...
Cheryl

Thursday, April 10, 2014

Hellooooooooooooooooooo!!


Hi my long lost blogosphere friends!  It's been so long.  I am getting a little misty eyed thinking about how much I've missed you guys and how glad I am to be back.

At least for the time being, all of our drama has subsided.  I am well and plan on staying that way.  We have moved into our new abode and are getting settled in.  And...I have a beautiful new craft room.  I am putting the final touches on snazzing it up, then I will be posting pics to share with you all.

Until then, I thought I'd share a card I made using my new favorite toy, my Silhouette Cameo.


This is the first card I made using my Cameo.  I wanted to make thank you cards for the nice, wonderful friends that came to visit me and took care of me during my hospital stay, and although this one was kinda cheesy, I thought it was fun.  I got it from the Silhouette Online Store.


It's hard to tell from the pics (I took them in a hurry in bad light), but on the gray and dark blue pieces of the toaster, I used Glossy Accents to make it look shiny.  And instead of an envelope, the little toast card just slides down in it's slot in the toaster.  Isn't that so fun?

I know these pics aren't great and there aren't many of them, but I just wanted to share something so badly with you all.  It really makes my heart happy to share things with you guys!

Hugs,
Cheryl


Friday, February 21, 2014

Simple Thank You Card


TGIF!!!  It's my first week back at work and I couldn't be happier for Friday to get here!  I was off for almost 3 weeks during my illness and I was sure I was ready to come back.  The two major side effects of my illness are fatigue and headaches.  I didn't realize how much I would have those until I became active again.  The fatigue is really rough, as about every 3 hours, I need a nap.  My boss has been so good to let me go home early every day whenever I felt tired, but I'm ready to be normal again!  (Well....as normal as I ever was, anyway!) I'm sure it doesn't help that, instead of resting each evening like my doctor to me, I am packing up boxes.  Don't get me wrong - My hubby has been fantastic.  He gets my little desk chair, wheels it wherever we're packing and has me sit and sort, while he lifts, moves, packs and unloads cabinets.  So, I'm not doing the hard work, but I'm also not resting.  And the mental part is probably what's wearing on me most.  My type A personality can't deal with the mess in my house (which has been there for months, because apparently I've been getting sick for a while now) which is worsened by boxes and trash bags everywhere.  On the upside, when I move, things will be neat and tidy and organized again AND I'll have a craft room!  Yippee Skippy!  Enough about me...

I made this card for a friend who came to see me in the hospital and brought snacks.  (The food was horrible there!)  I used some paper by Recollections by Michaels, but can't remember the name of the stack.


The card measures 5" x 5".  The scallop is from a borders pack from the Silhouette online store.  I love that place!  This was from a pack of 6 borders for a whopping 75¢!  The circle and star were shapes that came free with my machine.


The rosette and pennant were cut by hand.  For the rosette, I cut two strips of paper that were 11" x 1.25".  I scored them all the way across at .50" increments, then glued together to form the rosette.  I inked the edges of everything with some purple ink from the dollar spot at Michaels.


Here's the inside of the card.  I was still not feeling too well when I made it, so I sorta rushed through the inside.

I have several more thank you cards to share with you all.  Last night, I pack up My Precious, a.k.a. My Silhouette, so I won't have any new projects for a few weeks.  I have several posts to share in the meantime and I hope to be back to crafting soon....in my new craft room.  WOO HOO!!!

Hugs,
Cheryl