Showing posts with label Create a Critter. Show all posts

Wednesday, March 7, 2012

My Craft Spot Challenge


I made a card for another challenge - Two in one week!  I can't believe it.  Over at My Craft Spot, the challenge this week is to use a bird in your project, so here's what I came up with:

Monday, November 14, 2011

Business Cards

Hola Amigos!  I had a discussion with my friend a few weeks ago about business cards, so I wanted to share some examples with you that I made.  I've only done a few craft shows over the last few years, but I've noticed there's always someone who wants a card with your email or # on it.  I decided I didn't want plain printed business cards, so I embellished mine.  I figure a paper crafter needs a crafty card, right?  Here's what I did.

(Disclaimer on photos: I broke my light that came with my light box so I bought a replacement.  I'm discovering it's not as good, so please bear with the poorly lit photos until I can get another light!  On my little camera screen they looked ok, but on the computer you can really tell they need better light.)


I printed the business cards myself on cardstock.  I added a striped mat to the back of the card and then punched some flowers and layered them in the corner.  Here's my theory - If you give them a plain business card, they end up putting it in their pocket or purse and it falls to the bottom.  If you give them one that's a fun shape or has something fancy on it, they're less likely to just toss it somewhere and forget you.  I have no idea of my theory is correct...but it makes sense to me!

I also made a couple that would be great for a photography business.


On this first one, I was thinking it would be fun to make it look like film.  I realize most cameras are digital now and don't use film, but who cares!  It's still fun!  I used George and Basic Shapes to make the rectangle, then added smaller rectangles along the edges (using my Gypsy) and cut it out.  I just added the business card right in the middle.


For this one, I cut the camera from Create A Critter.  I printed the business card, then used the circle cut out for the lens as a pattern to cut the "card" portion.  You could also print several on a page and use the center point feature on your Cricut to cut around the wording.  I then glued the "card" onto a black oval and adhered it to the camera cut.

As I was thinking along these lines, I had several ideas that would make fun business cards.  I think it's really important to have your contact information available when you are out and about, so why not make it reflect your personality and style?  Never be boring!  =)

Have a blessed day!
Cheryl


Thursday, September 29, 2011

Zebra Card

A few weeks ago, I was asked to make a card for a little girl at our church.  The card was from her teacher, saying goodbye as she transitioned into another class at church.  Here's what I came up with.


I used the zebra and wording from Create A Critter.  This sentiment normally comes with a balloon behind the "4", but I cut that off and put a flower in it's place.


I added stitching for accent and put the zebra on with foam dots to make it stand out.  The ric rac (isn't that what it's called??) is felt and I got it after Halloween on clearance last year.  I don't have any of the cut sizes on this one because my Gypsy froze and didn't save my work as I was cutting.

That's all for today folks!  This isn't my normal style of card, but I was trying to make it appealing to a 9 year old girl.  Hopefully she liked it.

Blessings,
Cheryl

Thursday, August 4, 2011

Say Cheese!

My friend at church ordered some cards from me last week.  He asked for 5 thank you cards, 3 masculine and 2 feminine.  The 2 girlie ones - No prob Bob.  Easy as pie!  So, moving on to the masculine ones, I started hitting the wall, but made it through 2 of them.  Then came the big challenge.  You see, my friend Jimmy is a photographer.  He just had a conference and wanted to send a thank you card to a fellow photographer, who happens to be male.  He asked that his card have a photography theme.  4 attempts later and this is what I came up with.


Let me start out by saying I do realize this is not a Polaroid camera and yes those are supposed to look like Polaroid pictures.  But oh well!  I like em anyway!  I made the white "frame" for the picture using a couple of squares from George and Basic Shapes.  I cut the cityscape from Plantin Schoolbook.  


The camera is from Create a Critter.  I cut the gray parts from metallic paper (I know it's hard to see in the pic) and added glossy accents to the lens to make it shiny.


I also added some black cord to the camera for a strap and put it on with foam tape to make it stand out.  I wrote thank you on the picture with a Sharpie.  I was going for the look of someone documenting their pictures like they did back in the day.  Remember when people took Polaroid pictures and wrote the names and dates on the bottom?  I do.  Vaguely.  I never had a Polaroid camera, but I do remember going to school or church and them taking our picture for mother's day crafts using a Polaroid.  How did we ever take pictures without a digital camera and photo editing software?????

I would never have known I'd have this much trouble with this simple card.  When I know someone is paying me their hard earned cash for cards, I tend to OBSESS over them a bit too much.  I want them to be happy with the finished product and feel they got their money's worth.  I would hate for them to give someone a hideous card with my name on the back of it!  Or....gasp!  Pay me for a card they're too embarrassed to give away because they think it looks bad.  I know I'm probably the only one who does this, but my type A personality can't help it.

One last thing, I promise!  As I mentioned, my friend Jimmy is a photographer.  He does a podcast each week with photo tips and ideas and offers instructional CD's and DVD's for sale.  If you want to learn some tips or become better at photography, you should check him out at the Photo Tips site.  I promise, he's not paying me to say this, it's my honest opinion!

Well, that's it for today.  Have a blessed and happy Thursday!

Blessings,
Cheryl

Tuesday, July 19, 2011

Miscellaneous Cards

Happy Tuesday!  Today is supposed to be my cartridge of the month exploration day, however, since I was so busy with my preparations for my craft booth last week, I haven't done that this month.  I will start back in August.  Instead, I thought I'd share a couple of miscellaneous cards with you that I've made over the last few weeks.  I took these pictures in the break room at work, so please ignore the glare and the background! 

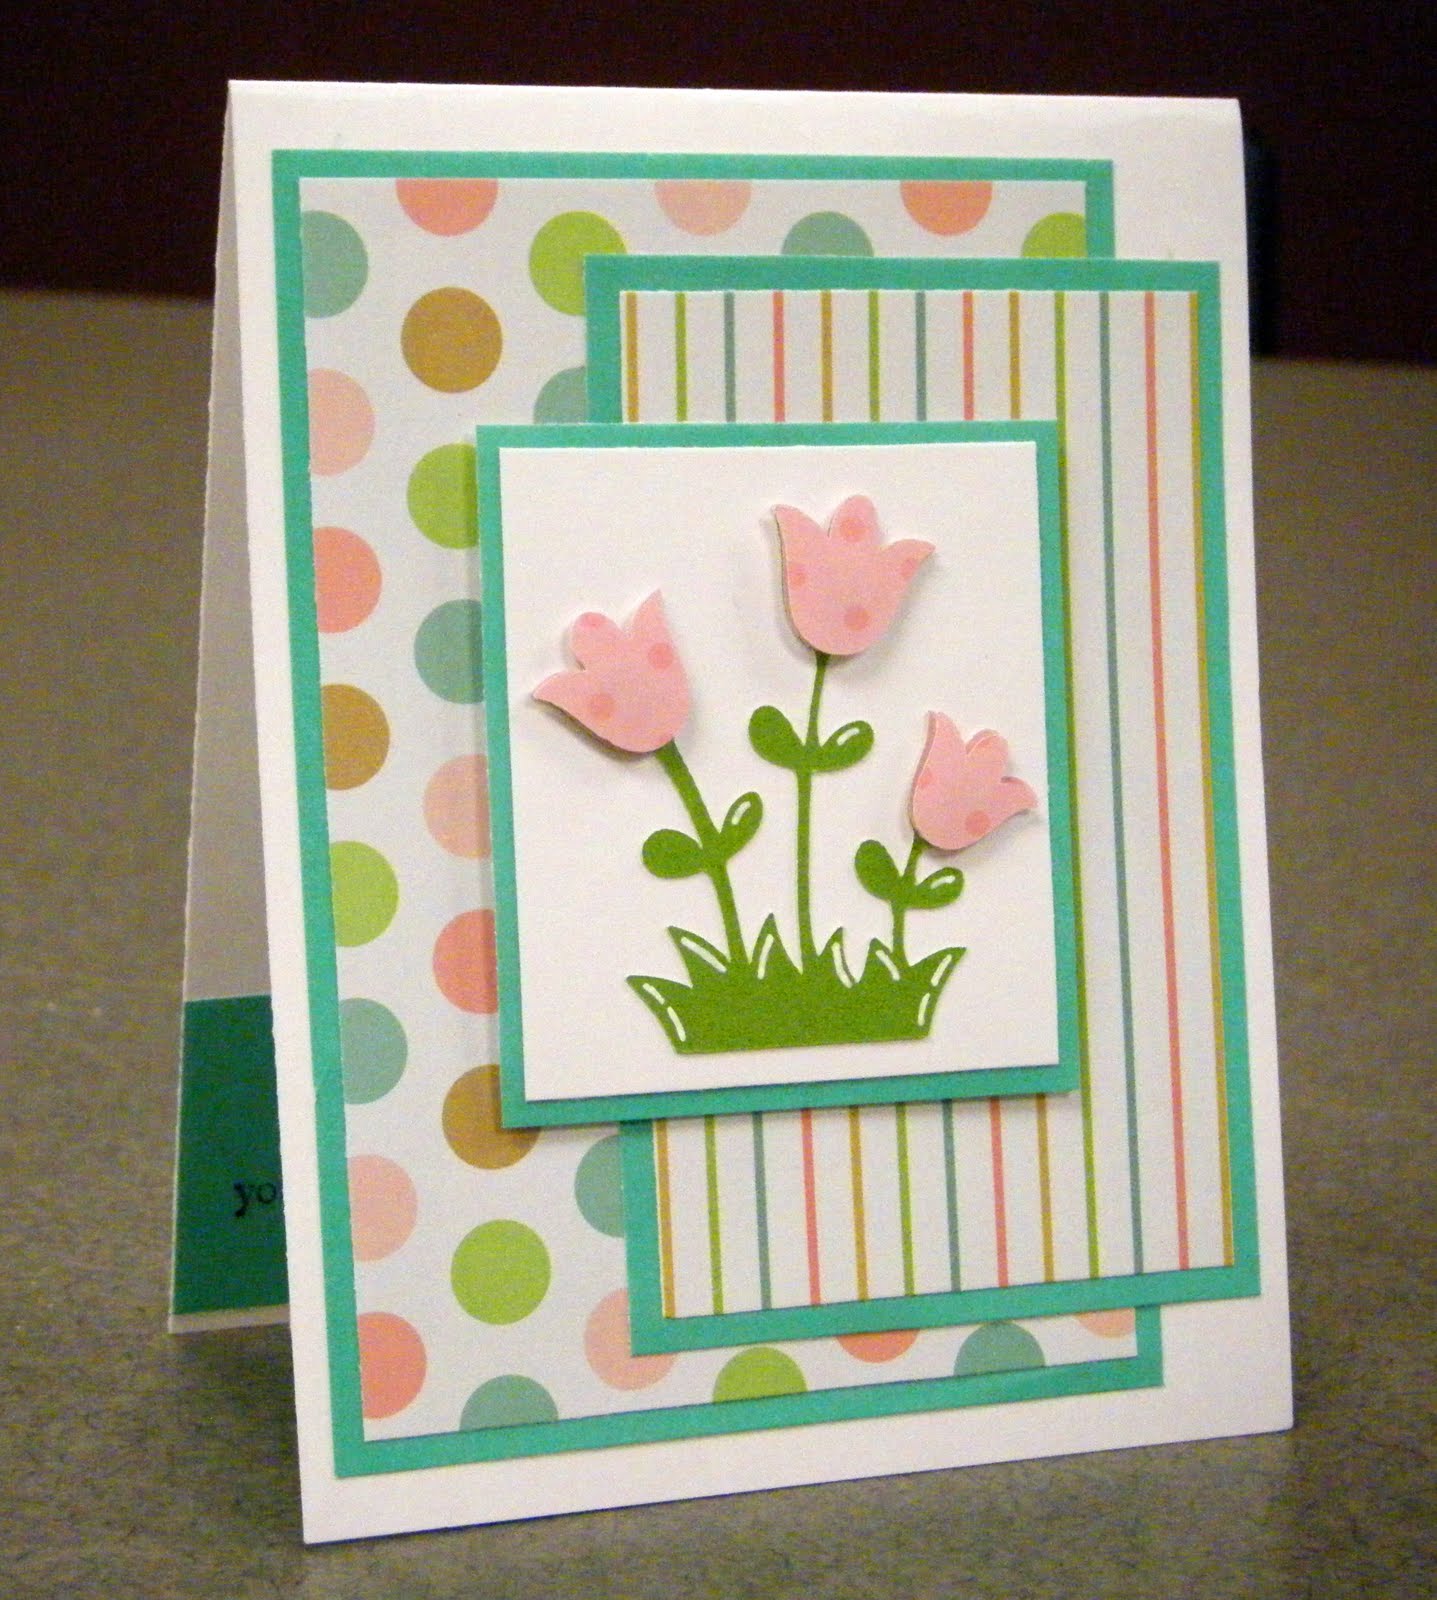
I made this same card in different colors a few weeks ago.  The tulips are from Create A Critter.  I really like these tulips, so I decided to make another one in different colors.  I think I like the original better, but I do like the this polka dot paper.


Here's a close up of the flowers.  I only did one layer of dimension on the tulips because I was going to mail this card. 


For this card, I used Just Because Cards for the flower and I cannot remember the rest!  I love those tall sunflower cut.  I've never used it before, but I will certainly be using it again.

I inked the edges and added some twine on the front.  You can see (just barely) that I added a sunflower to the inside corner as well.  I don't know why, but I never used to embellish the inside of my cards.  Then I realized how much better they look when you do!


One more thing - I will be participating in the Old School Cartridges Blog Hop on August 5-6, hosted by Kassidy over at http://inkingitupcrazy.blogspot.com/.  We will be going "Old School" and using cartridges that are 2 years old or older.  We gotta show some love to those old, neglected cartridges, right?  There are some great ladies participating in this hop, so be sure to check it out.  Of course, I'll have blog candy as well and we all like that, don't we?  

Have a great day!

Cheryl

Monday, June 27, 2011

Two Lips!

I think tulips are the best flower God ever made!  They are so beautiful and perfect.  Of course, the pink ones are the prettiest. 

I’ve seen several cards made using this cut from Create A Critter and have wanted to use it for a while.  I made this card for a friend’s birthday. 

tulips 1

I used a stack of paper by KI Memories.  I love the soft, yet bold colors of this stack. 

tulips 2

Since I wasn’t going to mail the card, I added several dimensional layers.  I love layers!

tulips 3

I inked the edges of everything, added highlights using the white gel pen and added a couple of green pearls to the corners.

tulips 4

Thanks for stopping by today.  I’ll be back soon with more fun stuff to share with you!

Blessings,
Cheryl

Wednesday, June 22, 2011

Sunny Card!

At the end of last summer, our lawnmower died, so we decided we would get a new one this year.  Well, this year is here and we haven’t bought a new one yet.  Of course, the lawn was looking rough last week (to put it nicely), so we borrowed a mower to at least knock the grass down to a reasonable level until we could go get a mower.  Then, last night I got a text message saying “Keep the mower, we got a new one”!  Thank you Lord for the blessing of a new mower for FREE!  So…I decided to make a thank you card.  And it had to have grass on it, of course. 

sunny grass card 2

For the card base, I used Birthday Bash.  I love this card shape.

sunny grass card 4

The tree is from Simply Charmed.  I added some purple buttons instead of cutting the flowers that go with it.  The clouds and sun came from Create A Critter.

sunny grass card 7

I cut the grass from Plantin Schoolbook.  The stamp is from the dollar bin at Michaels and I put it on pop dots to make it stand out.

sunny grass card 6

I’m really happy with this card.  It looks really bright and cheery in person.  The pics don’t do the colors justice. 

One last thing…..the giveaway!!  I want to say thanks to all of you who entered.  I feel truly blessed to be able to share my creations with you through my blog and am so thankful for you guys!  Chosen randomly, the winner is….

jennyevans said...
 
I love that you are doing Boys Will Be Boys right now!! So, anything else from that would be amazing!! Also, Sports Mania, if you have it...
I left a post about your giveaway:

Have a great day!!
Jenny

Congratulations, Jenny!  Send me an email with your address and I’ll get your goodies in the mail to you. 

Talk to you all again soon…

Blessings,
Cheryl

Saturday, March 5, 2011

Minnie GIANT Birthday Tag!

Good Morning!  I hope you are all having a wonderful start to your weekend.

Today’s is my niece's 2nd birthday party, so last night we went and got her a gift.  When I got home and was looking for a gift bag from my stash, I found this cute one with giant black and white polka dots.  The first thing I thought of was “It reminds me of Minnie Mouse”. So, instead of a card – for a 2 yr. old who can’t read it anyway – I’ll make a giant Minnie tag to match the bag.

I used Mickey Mouse Font cart for Minnie and for her name, Create a Critter for “happy birthday” and TBBM for the tag base.  I added stitching and some polka dot ribbon and attached it to the bag.  The overall tag measures around 9” x 4.5”, so it’s pretty big, but I think it looks great on this big bag.

I made it really late last night and attached it to the bag before I even thought of taking a picture, so I had to take some while it’s on the bag.  Here it is….

minnie bag tag 2

minnie bag tag 3

minnie bag tag 4

Blessings,
Cheryl

Friday, January 28, 2011

Flaunt it Fridays #9–Paper Pups

Hallelujah…it’s Friday again!  That means sleeping in and no work for the next couple of days…woo hoo!  It also means it’s time for another challenge at Flaunt it Fridays.  This week’s challenge was to use the cut of the cat and dog from the Paper Pups cart.  Since I don’t have that cart, I used Create A Critter for the animals, Doodlecharms for the heart and Lacy Labels for the card.  I welded the shadow feature for the card base with my Gypsy and made the little sparkles with Martha Stewart Glitter Glue (LOVE IT!!).  The sentiment is handwritten.  Be sure to head over to Flaunt it Fridays and see the great projects from the other designers.  We’d love for you to flaunt right along with us!!

DSCF6875

DSCF6883

DSCF6884

DSCF6893

signature with numbers scrip

Tuesday, December 28, 2010

Flaunt it Friday Challenge #4

There's a new challenge blog that I'm really excited about called Flaunt it Fridays. This is my first time to participate in their challenge and I'm super excited to join in. The challenge was to use the turtle from Create a Critter and make something other than a card. I decided to make a gift bag using the cut from Plantin Schoolbook. My first thought, of course, was a green turtle. Then, I decided on pink....surprise! But, I'm trying to broaden my horizons...ha ha....so I went with purple. I really like the bag in person, but I have to say, it did not photograph well AT ALL! Have you ever made something and taken like a gazillion photos and none of them capture the colors or style properly? Well, that happened with this. I have this neato new photo tent with fancy lights that my dad bought me and it has definitely made my pictures look better. But even with that, there was no getting a good pic of this bag. So, I gave up and said "oh well!". Here it is anyway. In real life, the colors look really good....so just squint your eyes and pretend it's beee-u-ti-ful, ok?Blessings,

Sunday, December 5, 2010

Simple Cards

Christmas is coming sooooo quickly! Last week, I had some wonderful young helpers decorate my classroom at church for me, so I wanted to make them each a thank you card. Two are young boys and one is a teenage girl. Here's what I made for them...

I made this for the girl. I used the sentiment and bowl of strawberries from Simply Charmed. Love that cute bowl!!!

This is from Smiley Cards. I tried to keep this as simple as possible because it was for a 12 year old boy! (You know......not much will please them!)


I made this using Create a Critter for the dinosaur and the word DinoMite. I handwrote "You are" with a black Sharpie. The orange paper was some embossed paper I got on clearance.

I will have some Christmas projects to post in the next day or two. I'm also very excited to share that I am working on my first video. I hope to share it with you all soon! I am working on a couple of gypsy tutorials......can't wait!!

Blessings,

Thursday, November 18, 2010

HOOT!!! Birthday Card

We have tons of birthdays in November at work. And I am the official birthday card maker of the office. A couple of my co-workers actually like my cards and have ordered from me after seeing some of them; The rest of them...well...I think they like not having to pitch in to buy a card since I make them for free for all the birthdays up there! Oh well. =) I just got Create a Critter and Simply Charmed from cricutmachine.com and was so excited. The MAIN reason I bought Create a Critter is for this fabu-licious owl with the darling eyelashes. I think she's the cutest owl EVER! So, of course I had to make a card with her. What do you think?


Blessings,

Sunday, November 14, 2010

Have a Dino-mite Birthday!!

I finally got Create a Critter and Simply Charmed (thanks to birthday money!!). I LOVE them! I made this silly birthday card for a guy at church that helps in our Children's ministry. It's quite silly for a grown man, but I had to try out these carts. He has a good sense of humor, so hopefully he'll like it! I don't like the black lining I did on the letters...but I'm too tired to re-do them. I'll know better next time. =) I used Smiley Cards for the actual card and Tags, Bags, Boxes and More for the white liner. The dinosaur and "dinomite" are from Create a Critter and the rest of the letters are from Pooh Font.

Blessings,